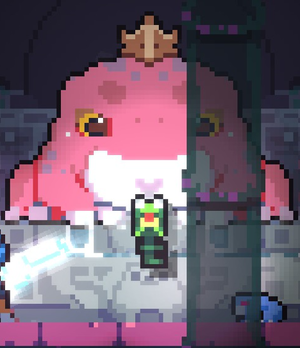
Royal Crown
The Royal Crown is a common relic in Revita.
It is obtained by hitting all the small statues in Grazing Grove a certain amount of times. The order in which to hit the statues, as well as the number of times to hit each one, is shown in the Schematics Lost Note.
It cannot be upgraded, but can be removed.
Its passive effect makes it so you are unable to scare away frogs.
Royal Crown Quest
MAJOR SPOILERS AHEAD - SHARD 10+ SUGGESTED
This requires you to be on shard 5 or higher. HOWEVER, it is not advised for you to do this until you have significant experience in the game. Shard 10 is when you get the first piece of this puzzle so I would suggest waiting until at least then to return to this page (or trying to figure it out for yourself).
At some point during the first and second areas you will need to get a curse.
In order to obtain the crown, the first statue needs to be hit 9 times, the second statue needs to be hit 8 times, the third statue needs to be hit 3 times, and the fourth statue needs to be hit 5 times. In subsequent runs, the statues will be broken and the crown will spawn automatically.
After obtaining the crown, you can either get the Frog Key or the Bee Key by going to the Fungated Funnels or the Hollow Hives respectively.
Fungated Funnels
If you're going for the Frog Key, Progress through the area until the Frog King room. Frogs can not be scared while having the crown. Talking to the Frog King will grant you the Frog Key in exchange for the crown.
Hollow Hives
If you're going for the Bee Key you will need to beat Anger without losing the crown, and then give the up crown in the middle of the boss room by the beam of light.
After obtaining either key, open the door on the far right of metro room. Either path leads to the Forgotten Station.
Forgotten Station
Halfway through the area, you will find that the item room has been replaced by a massive room with a brazier. If you have a curse on hand you will be able to light the torch and gain Reflection. proceed through the rest of the area as normal to reach Arid Athenaeum
Arid Athenaeum
In Arid Athenaeum, There will always be a secret room containing a mirror, separate from the normal secret room. By standing in front of the mirror while having Reflection, The mirror will shatter and drop Mirror Shard. proceed as normal, taking the alternate route as desired.
Between Arid Athenaeum and either Somber Sepulcher or Calm Caldarium, upgrade the Mirror Shard to the max level to convert it into the Mirror Prism.
Somber Sepulcher / Calm Caldarium
In area 4, either Somber Sepulcher or Calm Caldarium, after clearing a random room, a beam of light will appear. The orbiting Mirror Prism, if inside the beam of light, will shine outwards. Make the light shine across the room until it makes a sparkle appear. Interact with the sparkle to get the Broken Pocketwatch.
Ticking Tower Top
In Ticking Tower Top make sure to get the Old Photo.
After beating Acceptance, proceed to Last Refuge.
Last Refuge
In Last Refuge there should be a special room with 4 screen terminals, 2 on each side, and a machine in the center. Place the Mirror Prism into the center machine. The terminals should light up. The code that's now in the description of the Broken Pocketwatch is the order that you need to interact with the terminals, 1 being the leftmost one, and 4 being the rightmost one. After inputting the code, you should receive the Void Prism.
After beating Regret with the Void Prism a portal should appear, which you can enter instead of talking to Mother, leading to the Void.


